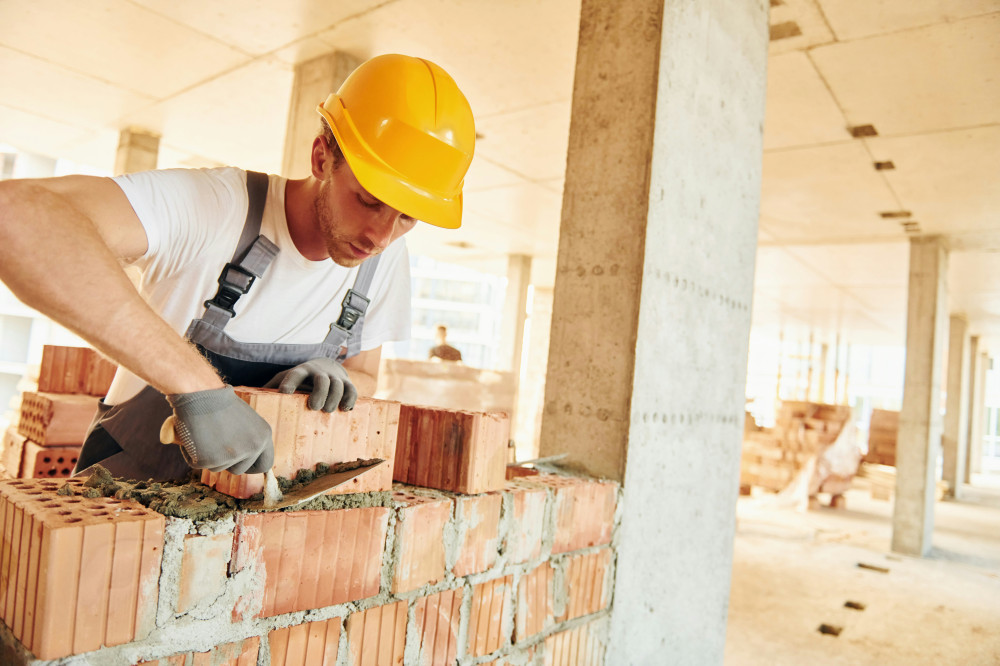
Painting the Tough Spots: Great Tips for Painting Cornices and Corners


Painting the Tough Spots: Great Tips for Painting Cornices and Corners
Painting walls and ceilings can seem like a straightforward weekend project—until you reach the tricky spots. Cornices, corners, and edges demand patience, precision, and the right tools if you want a clean, professional-looking finish. Here are some practical tips to help you tackle those hard-to-reach areas and achieve a flawless result throughout your home.
Preparation Is Half the Job
Before you even open the paint can, take time to prepare your surfaces properly. Dust, grease, and old paint residue can prevent new paint from adhering well—especially in corners and along decorative moldings where dirt tends to collect.
- Clean thoroughly with a mild detergent or TSP substitute and a damp cloth.
- Lightly sand with fine-grit sandpaper to smooth out imperfections.
- Mask off with painter’s tape and plastic sheeting, especially around ceilings, trim, and window frames.
If you’re painting an older cornice with intricate details, use a small brush or vacuum attachment to remove dust from crevices. The better your prep work, the smoother your final result will be.
Choose the Right Tools
Tight spaces and detailed surfaces call for more than just a standard roller. The right brushes and accessories make all the difference.
- Angled sash brush – perfect for cutting in along edges and corners.
- Small round brush – great for ornate moldings and textured surfaces.
- Mini roller – ideal for narrow areas and transitions between wall and ceiling.
- Extension pole – helps you reach high spots safely without overreaching on a ladder.
Investing in quality brushes pays off. Cheap brushes can shed bristles and leave streaks, while a good brush gives you better control and a smoother finish.
How to Paint Cornices
Cornices—especially those with decorative profiles—require a steady hand and thin, even coats. Start with the most detailed sections and work outward toward the flatter areas.
- Use a small brush to get paint into grooves and edges.
- Apply thin coats to preserve the details and avoid drips.
- Smooth out the surface with light, even strokes.
If your cornice is made of plaster or another porous material, choose a paint suitable for that surface and avoid overloading your brush with paint.
Corners and Edges: Precision Over Speed
Corners are where many DIY painters run into trouble. Paint can pool, drip, or mix between two colors. The key is to work methodically and patiently.
- Finish one surface completely before starting the adjacent one.
- Use painter’s tape to create crisp lines—but remove it while the paint is still slightly wet to prevent peeling.
- When painting walls and ceilings in different colors, use an angled brush to “cut in” a clean line between them.
A helpful trick is to start painting from the corner outward rather than from the middle of the wall. This gives you better control over how much paint goes into the corner itself.
Læs også:

Avoid Drips and Uneven Coverage
When painting overhead—like along cornices or ceiling edges—it’s easy to overload your brush or roller. That leads to drips and uneven coverage.
- Wipe off excess paint on the edge of the can or tray.
- Use short, controlled strokes.
- Watch for runs and smooth them out immediately.
If you notice uneven spots after the paint dries, lightly sand and apply another coat. It’s better to fix imperfections between coats than to try to correct them while the paint is still wet.
Finishing Touches for a Professional Look
Once you’re done, step back and inspect your work. Are the lines between wall and ceiling sharp? Are there any uneven patches? Small touch-ups can make a big difference in the overall appearance.
Don’t forget to remove painter’s tape carefully and clean your brushes thoroughly so they’re ready for your next project. A well-maintained brush can last for years.
Patience Pays Off
Painting the tough spots takes time and attention to detail, but the results are worth it. A neatly painted cornice or crisp corner adds character and polish to any room. With the right tools, a bit of patience, and careful planning, you can achieve a professional-quality finish—even in the most challenging areas of your home.
Læs også: