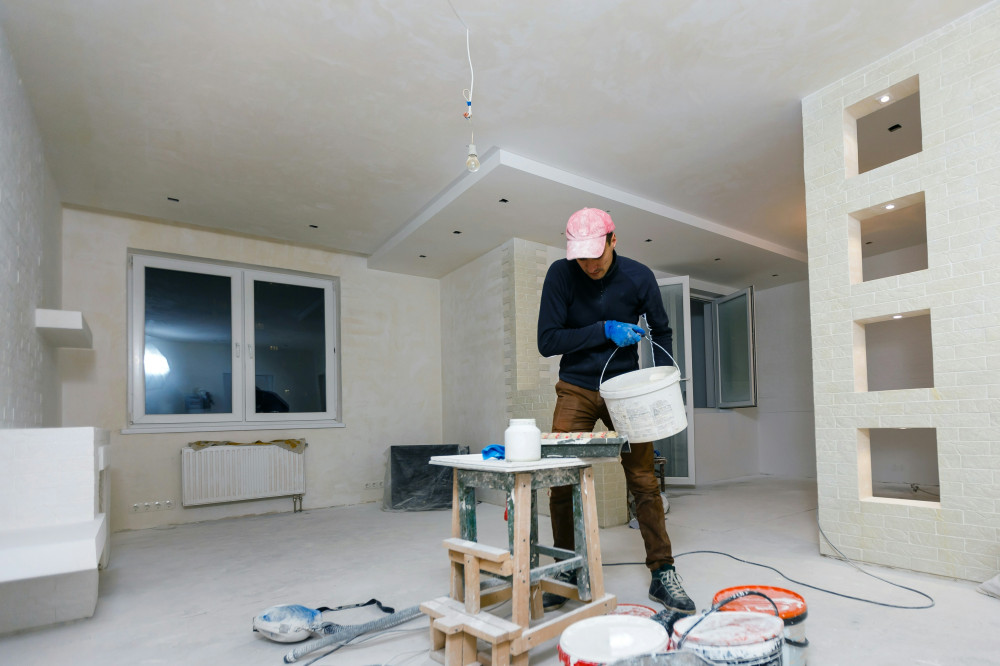
The Right Equipment for Painting Panels and Trim

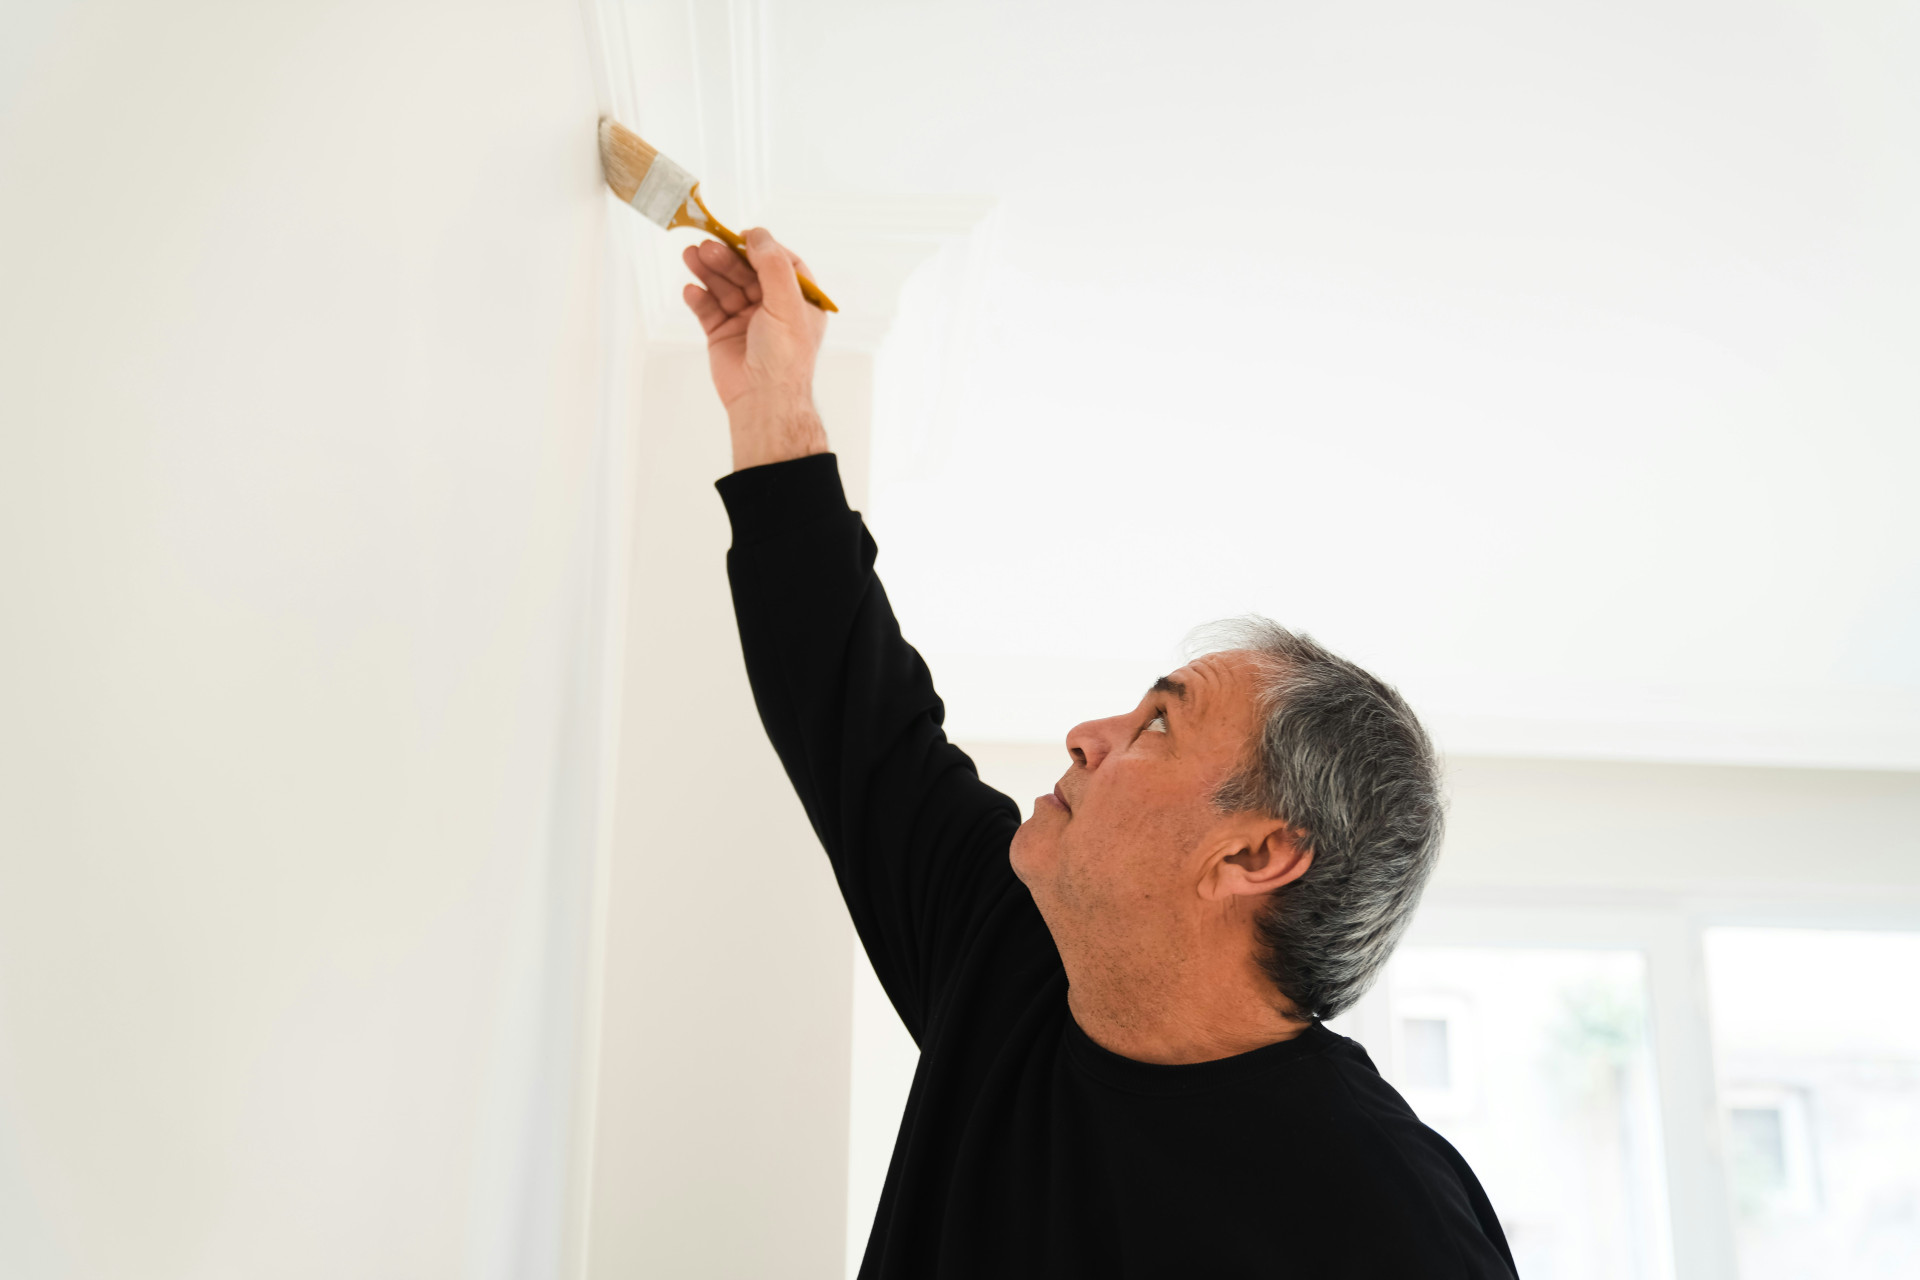
The Right Equipment for Painting Panels and Trim
Painting panels and trim might seem like a small task, but it’s often where the difference between an average and a professional-looking finish really shows. The narrow surfaces, corners, and edges require precision, patience, and—most importantly—the right tools. With the proper brushes, painter’s tape, and prep materials, you can achieve crisp lines and a smooth surface that elevates the entire room. Here’s a guide to the essential equipment you’ll want to have ready before you start.
Choose the Right Brush
When painting trim and panels, your brush is your most important tool. A good brush gives you control over the paint and helps you avoid streaks and drips.
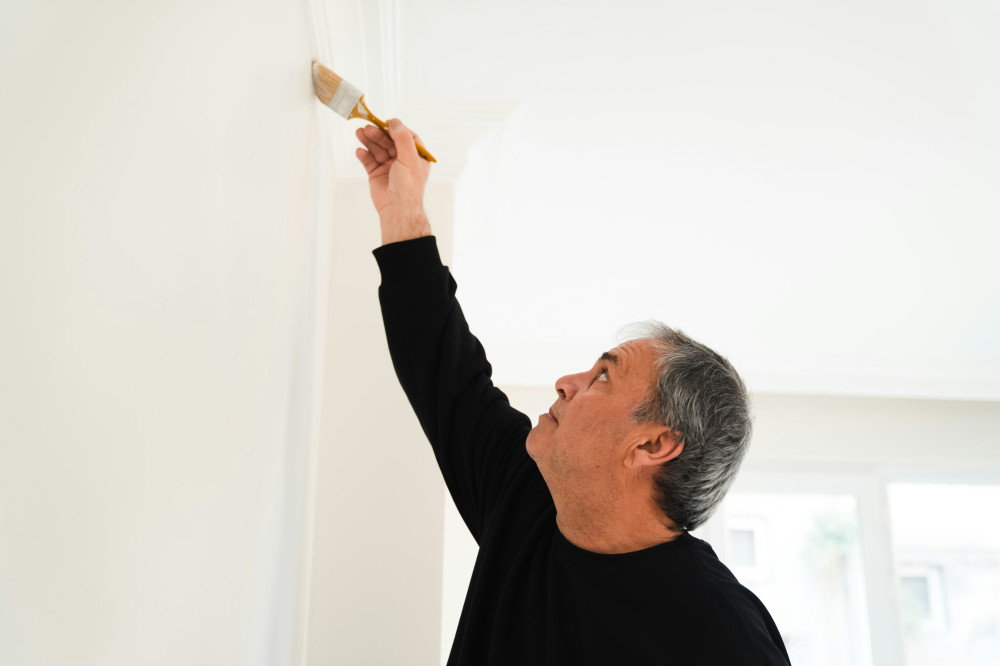
- Angled sash brush – perfect for corners and edges where accuracy matters. The angled bristles make it easier to cut in along walls, floors, or ceilings.
- Flat brush – ideal for longer, straight sections of baseboards or door frames. Use synthetic bristles for latex (water-based) paint and natural bristles for oil-based paint.
- Detail brush – great for intricate moldings, carvings, or tight spots that require precision.
High-quality brushes shed fewer bristles, last longer, and deliver a smoother finish. It’s worth investing in a few good ones rather than a handful of cheap alternatives.
Use a Mini Roller for Larger Surfaces
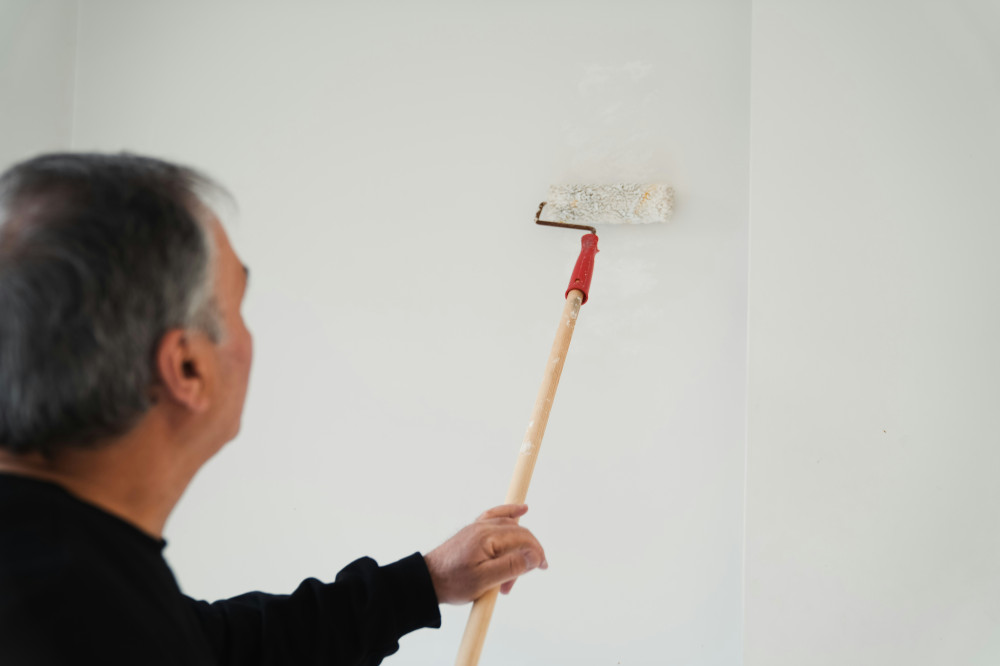
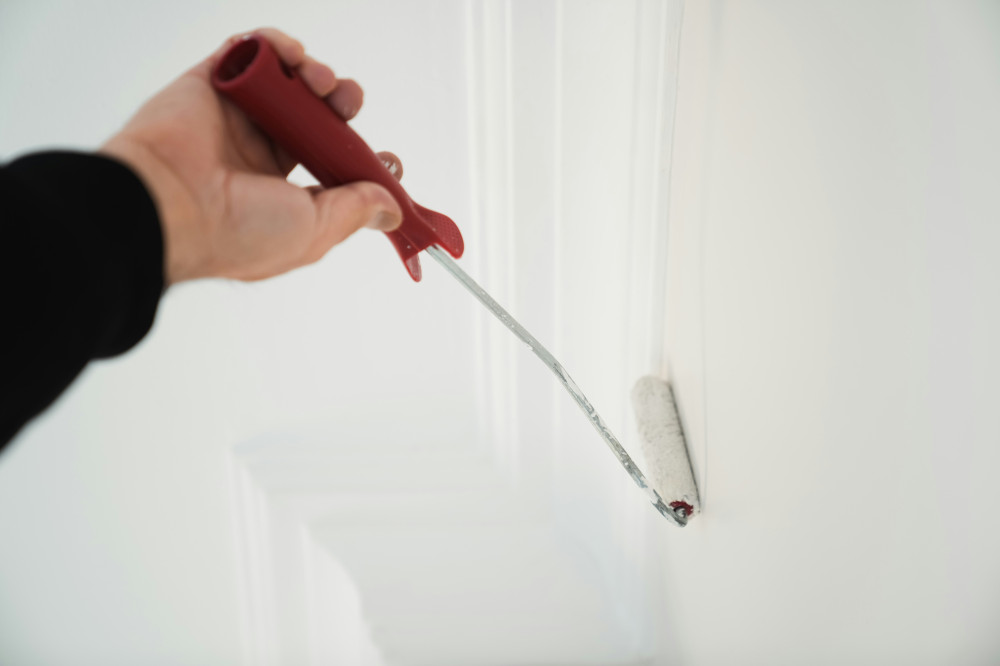
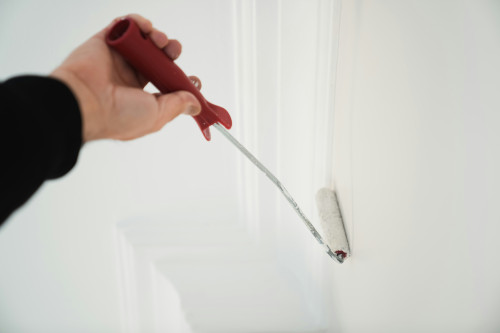
Even though trim and panels are usually narrow, a small roller can be a big help—especially on wider boards or door casings. A mini foam or microfiber roller spreads paint evenly and leaves a sleek, brush-free finish.
Roll the larger areas first, then use a brush to cut in along edges and corners to ensure full coverage.
Preparation: Tape, Covering, and Cleaning
A flawless finish starts long before you open the paint can. Proper preparation is key.
- Painter’s tape – choose a high-quality tape that won’t leave residue or pull off paint. Apply it along walls, floors, and door frames for sharp, clean lines.
- Drop cloths or rosin paper – protect floors and furniture from splatters. Canvas drop cloths are great for floors since they don’t slide around easily.
- Cleaner and cloth – remove dust, grease, and dirt from surfaces before painting. Even small particles can ruin the finish.
- Sandpaper (120–180 grit) – lightly sand the surface to help the paint adhere better. Wipe away dust with a damp cloth afterward.
The more care you take in prepping, the easier the painting will be—and the better the results.
Læs også:
Handy Accessories That Make the Job Easier
A few simple tools can make a big difference when painting detailed surfaces.
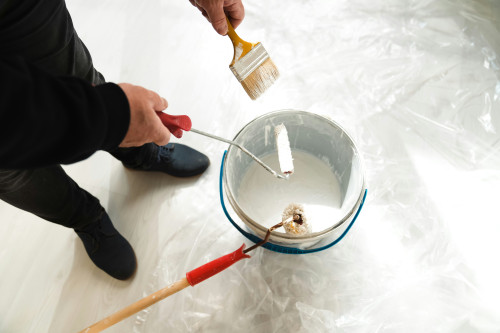
- Paint tray or bucket – helps you control how much paint you’re using and reduces spills.
- Extension pole – useful for painting baseboards without kneeling or bending too much.
- Edge guard – a small metal or plastic shield that lets you paint right up to an edge without hitting the adjacent surface.
- Rags and a damp sponge – for quickly wiping away drips or mistakes.
These accessories save time and help you work more efficiently and accurately.
Finishing Touches and Cleanup
Once the paint is dry, carefully remove the painter’s tape—ideally while the paint is still slightly tacky to prevent peeling. Check for any spots that need touch-ups with a small brush.
Clean your brushes and rollers thoroughly so they’re ready for next time. Use warm, soapy water for latex paint and mineral spirits for oil-based paint. Store brushes flat or hanging to keep the bristles in shape.
The Right Tools Make All the Difference
Painting panels and trim doesn’t require years of experience, but it does require attention to detail and the right equipment. With quality brushes, careful prep, and a steady hand, you can achieve a professional-looking result that lasts for years. It’s the details that make the difference—and with the right tools, the job becomes both easier and more rewarding.
Læs også: