Paint Both Walls and Ceiling – How to Plan the Right Order

Paint Both Walls and Ceiling – How to Plan the Right Order
When you’re ready to give a room a fresh coat of paint, it’s tempting to just grab a roller and start. But the order in which you paint makes a big difference in how the final result looks. Should you start with the ceiling? What about trim and baseboards? And how do you avoid drips or smudges on freshly painted surfaces? Here’s a practical guide to planning your painting project so you get a clean, professional finish without unnecessary frustration.
Start with Preparation
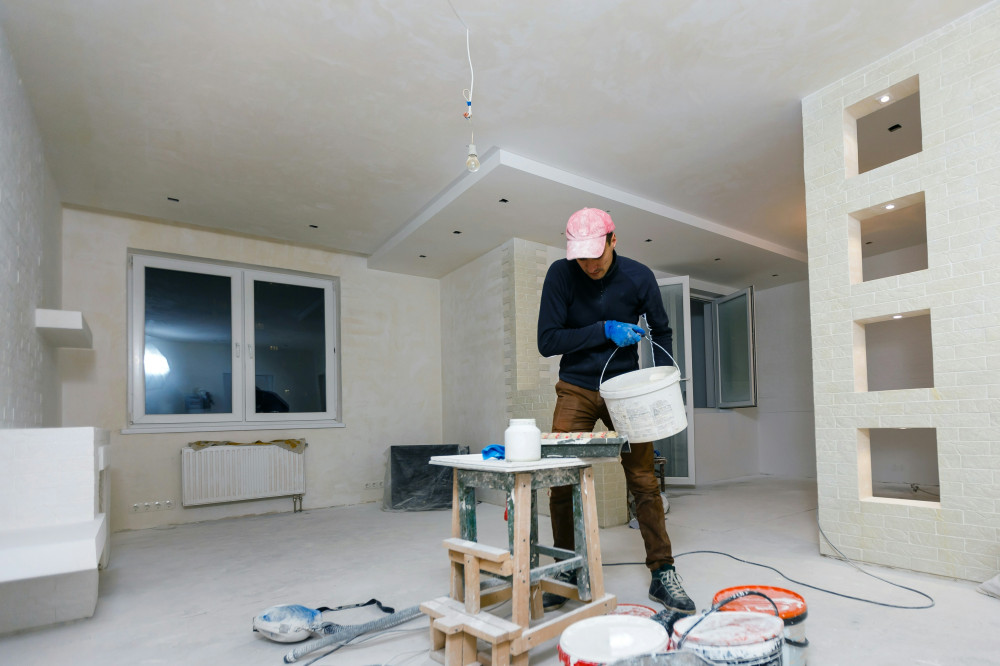
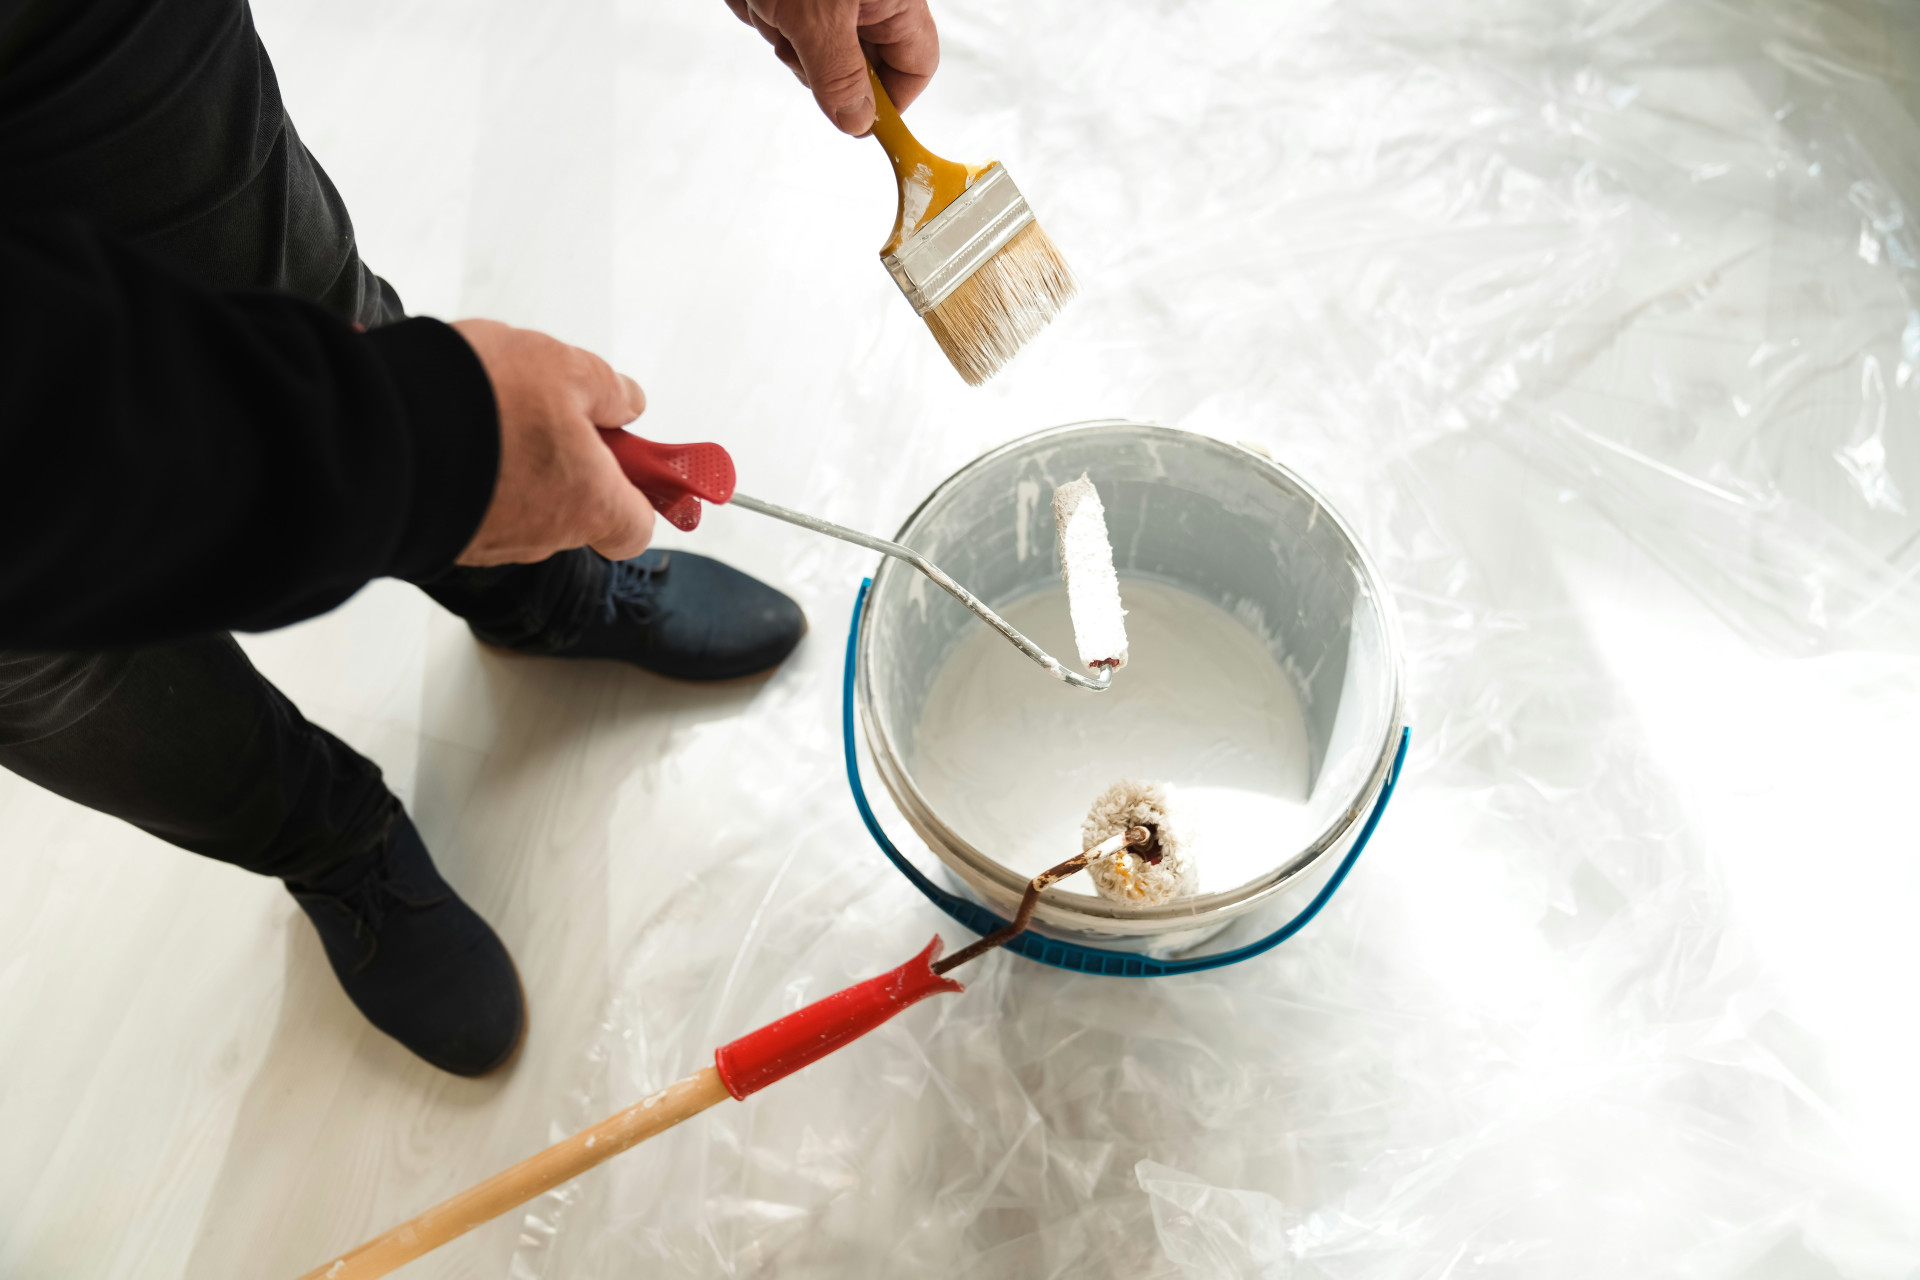
A great paint job begins long before you open the paint can. Clear the room as much as possible, cover the floor with drop cloths, and tape off edges, outlets, and window frames. Remove nails and screws, and fill any holes or cracks with spackle so the surfaces are smooth.
Clean both the walls and ceiling to remove dust and grease—especially in kitchens and bathrooms, where residue can prevent paint from adhering properly. Use a mild detergent or a degreasing cleaner, and let everything dry completely before painting.
Ceiling First – Always
When you’re painting both the walls and the ceiling, it’s almost always best to start with the ceiling. The reason is simple: paint can drip or splatter, and it’s much easier to wipe off an unpainted wall than to fix a freshly painted one.
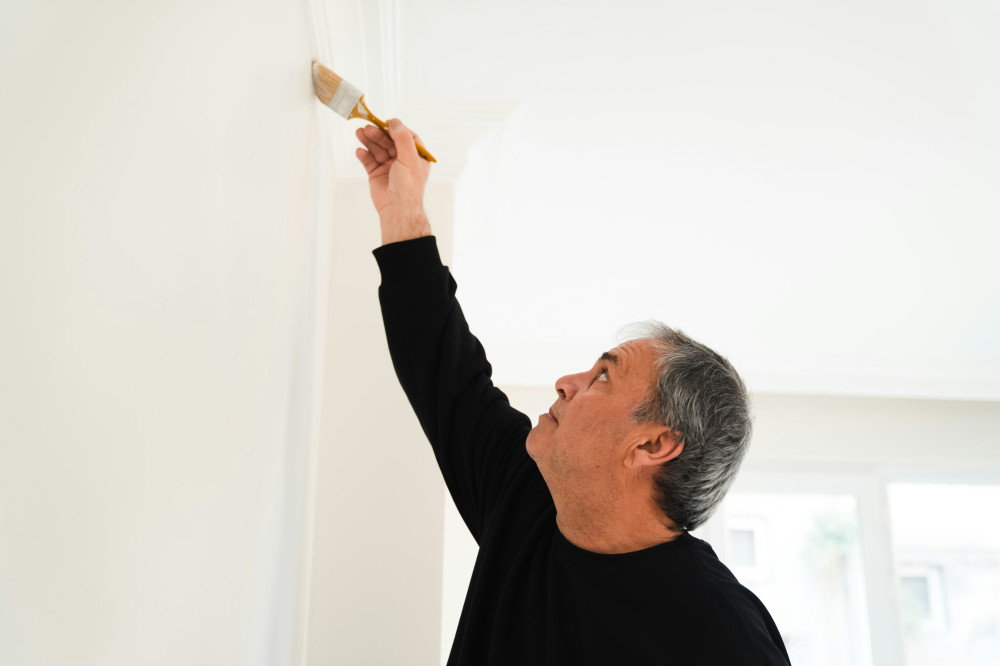
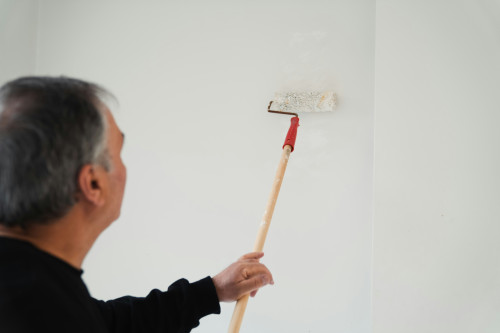
Use an extension pole for your roller so you can work comfortably and evenly. Start by cutting in the edges with a brush, then roll the rest of the ceiling in long, overlapping strokes. Work in the direction of the main light source—usually the windows—to help the finish look even.
Let the ceiling dry completely before moving on. If you’re applying a second coat, follow the manufacturer’s recommended drying time between coats.
Walls – Work from Top to Bottom
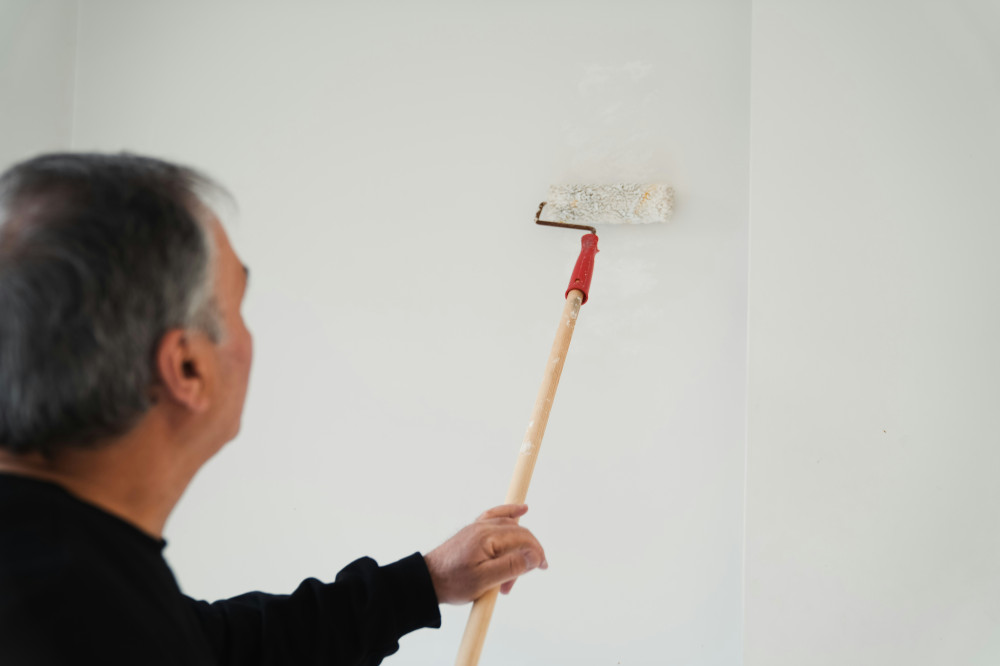
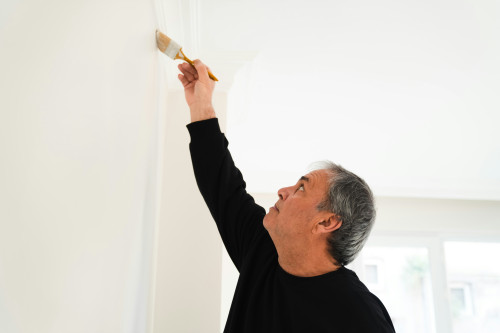
Once the ceiling is dry, it’s time for the walls. Work systematically for the best results. Begin by cutting in along the ceiling line, corners, and around doors and windows with a brush. Then use a roller for the larger areas.
Always paint from the top down. That way, if any drips occur, you can smooth them out as you go. Roll in steady, overlapping strokes, and keep a “wet edge” to avoid visible lines or patches.
If you’re using multiple colors in the same room—say, an accent wall—start with the lighter color first. It’s easier to cover light paint with a darker shade than the other way around.
Trim, Baseboards, and Details Last
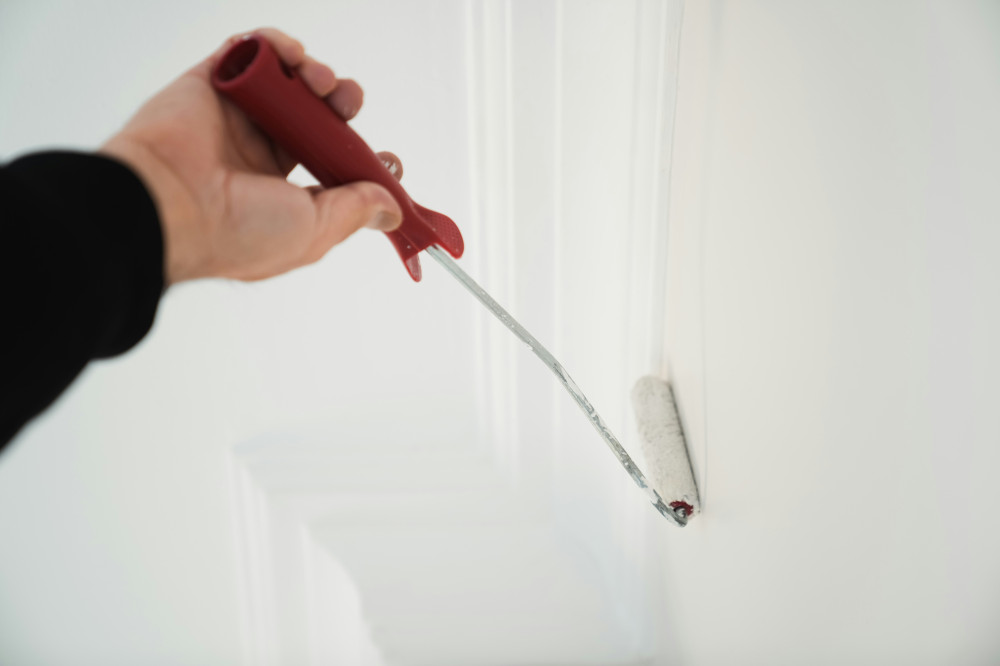
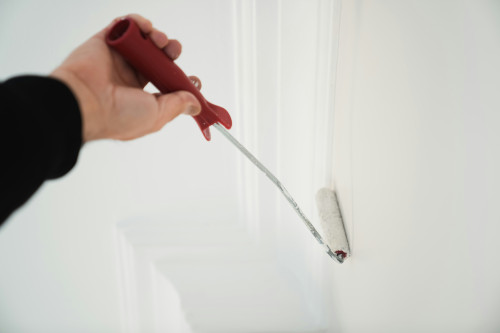
After the walls and ceiling are completely dry, move on to the details: baseboards, door frames, window trim, and any molding. Use a smaller brush for precision and control.
If your walls are textured or wallpapered, painter’s tape can help protect the edges. Remove the tape while the paint is still slightly wet to prevent peeling or uneven lines.
Læs også:
Drying Time and Ventilation
Patience is key to a great paint job. Always follow the paint manufacturer’s instructions for drying times, and keep the room well ventilated. Good airflow helps the paint cure properly and reduces lingering odors.
Avoid moving furniture back or hanging artwork until the paint is fully dry—otherwise, you risk smudges or marks on the fresh surface.
Tips for a Professional Finish
- Use quality tools. A good brush and roller make a noticeable difference in coverage and finish.
- Work in natural light. Daylight helps you spot uneven areas or missed spots more easily.
- Stick to a plan. Divide the room into sections and work methodically.
- Clean your tools. If you’re painting over several days, wrap brushes and rollers in plastic wrap to keep them from drying out.
The Right Order Makes All the Difference
Painting both walls and ceiling doesn’t require professional experience—but it does require planning. By starting with the ceiling, moving on to the walls, and finishing with the trim, you’ll avoid common mistakes and achieve a smooth, consistent result. With a little patience and preparation, you can transform an entire room in just a few days and enjoy the fresh, renewed look of your home.
Læs også: