Get Your Greenhouse Ready for Winter – Step by Step

Get Your Greenhouse Ready for Winter – Step by Step
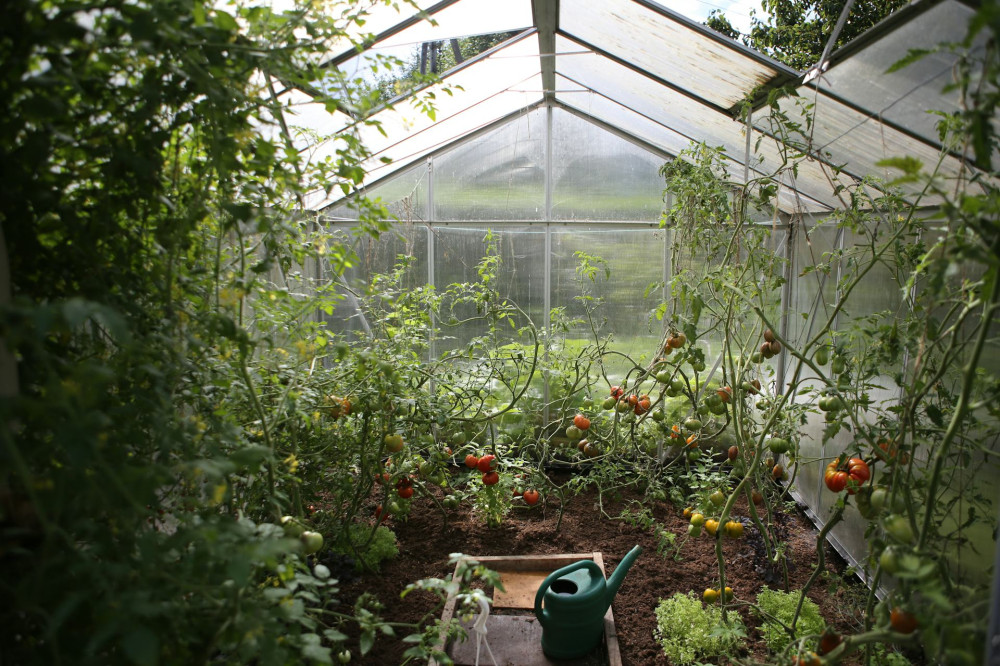
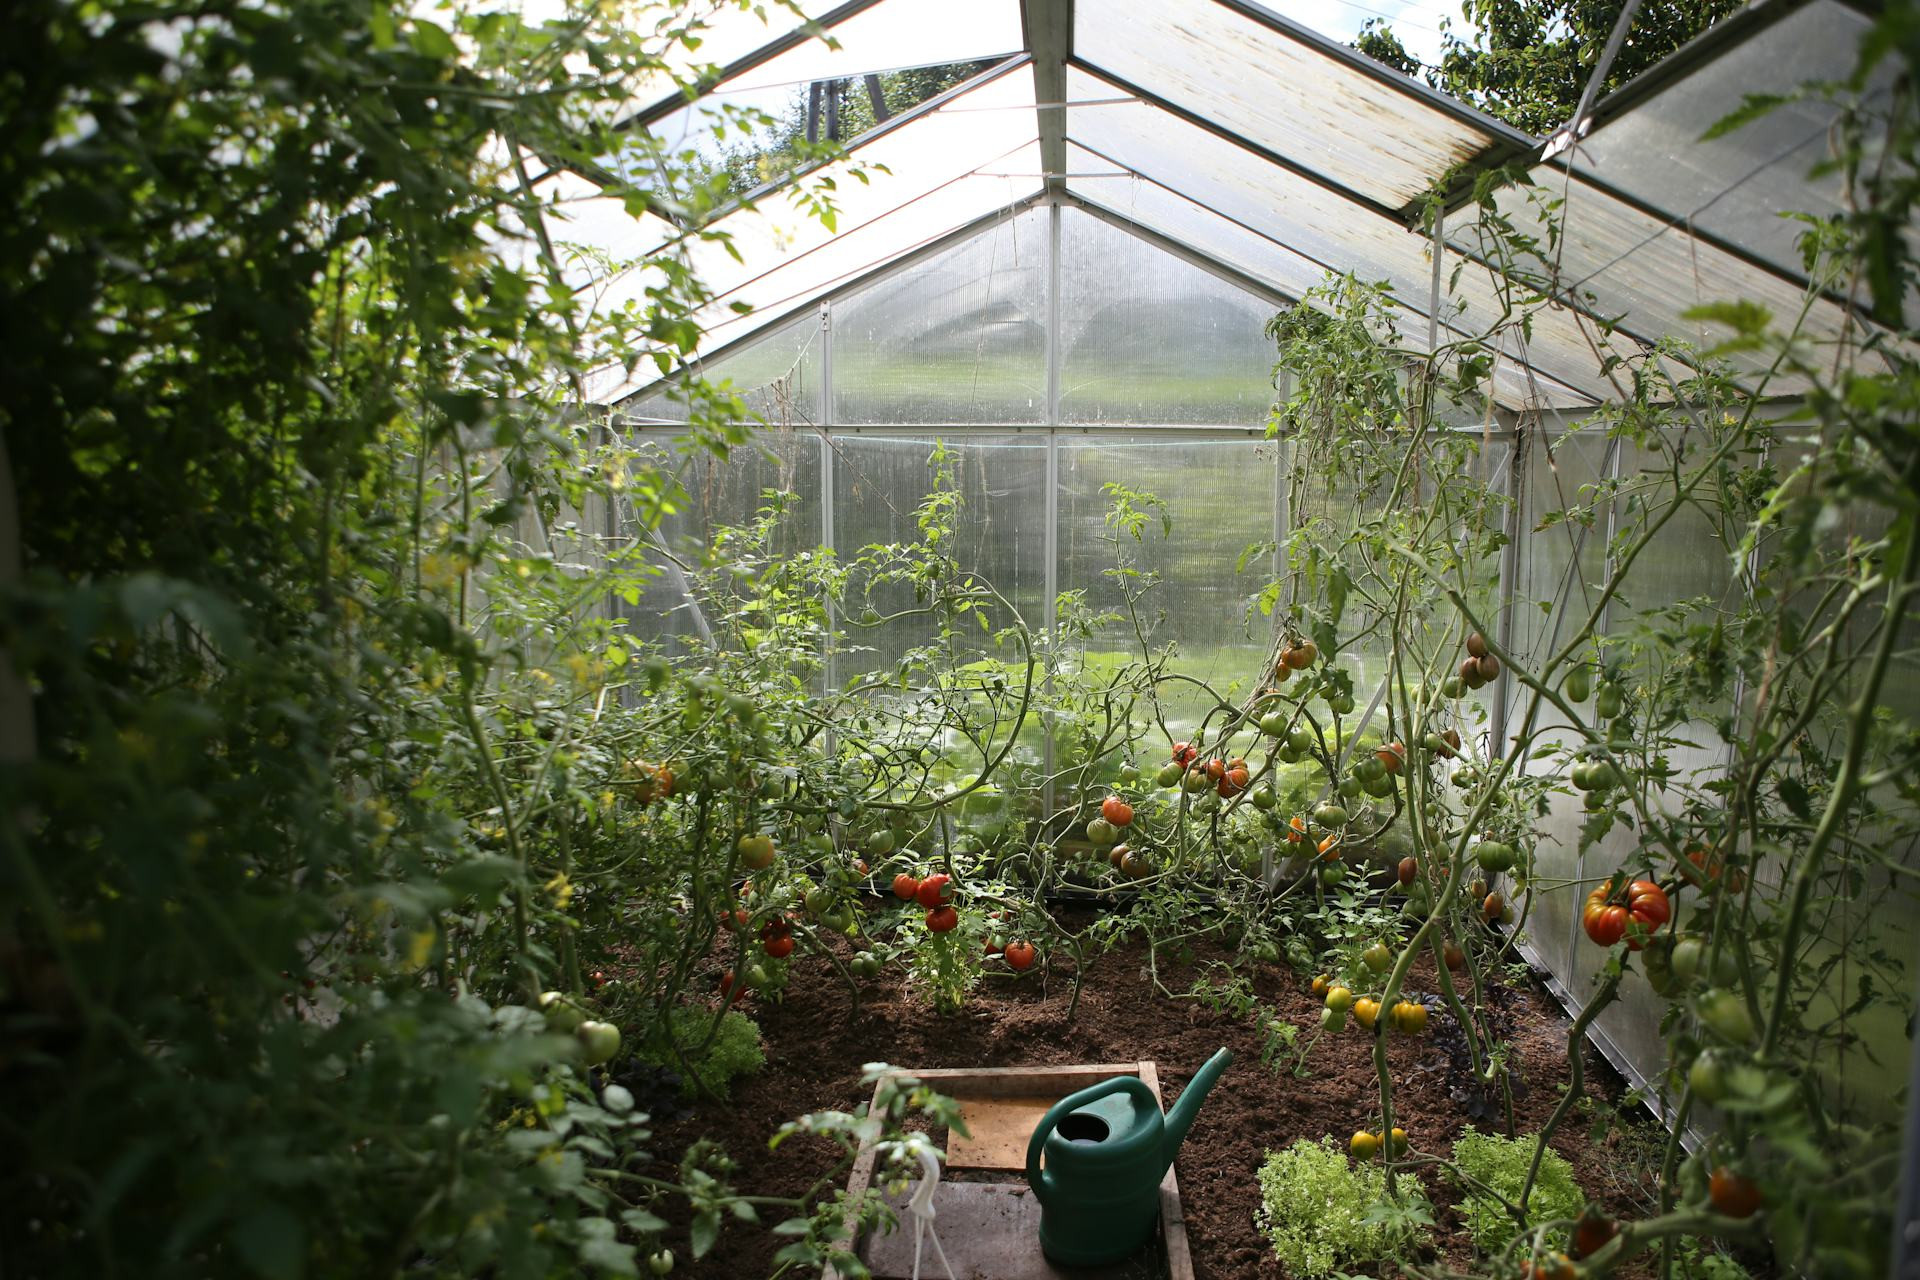
As fall approaches and the days grow shorter, it’s time to prepare your greenhouse for the cold months ahead. A thorough winter prep not only protects your plants but also extends the life of your greenhouse. Whether you plan to use it for overwintering tender plants or let it rest until spring, here’s a step-by-step guide to get it ready for winter.
Step 1: Clear Out and Declutter
Start by removing all plants, pots, and tools. Get rid of dead leaves, weeds, and plant debris—these can harbor pests and diseases that might survive the winter and cause trouble next season. If you have perennials or potted plants that will stay inside, move them out temporarily while you clean.
Take this opportunity to sort through your supplies. Discard cracked pots and wash the rest with warm, soapy water so they’re ready for spring planting.
Step 2: Deep Clean the Greenhouse
Once the space is empty, give it a good cleaning. Use a mild soap solution or a greenhouse-safe cleaner to wash the glass or polycarbonate panels, frames, and shelves. Dirt and algae can block valuable sunlight, which is already limited during winter.
Don’t forget to clean gutters and drainage channels so rain and melting snow can flow freely. Use a soft brush or sponge to avoid scratching the glazing.
Step 3: Inspect the Structure
After cleaning, check the greenhouse for any damage. Tighten loose bolts, replace cracked panels, and seal any gaps where cold air could enter. Small repairs now can prevent major issues when winter storms hit.
Check doors and vents to make sure they open and close smoothly. Lubricate hinges and locks with a little oil to keep them from rusting or freezing up.
Step 4: Refresh Soil and Containers
If you grow directly in the ground inside your greenhouse, remove the top few inches of soil to eliminate pests and disease spores. Replace it with fresh compost or new potting mix.
For container gardening, empty old soil from pots and planters, and wash them thoroughly. This helps prevent fungal and bacterial problems from carrying over into the next season.
Læs også:



Step 5: Add Insulation and Frost Protection
If you plan to overwinter plants, insulation is key. Line the inside of the greenhouse with horticultural bubble wrap—it helps retain heat while still allowing light through. Make sure it’s fitted snugly but doesn’t block vents.
Place sensitive plants on insulating materials like foam boards or wooden pallets to keep them off the cold ground. On especially cold nights, cover them with frost cloths or row covers. For areas with harsh winters, a small electric heater with a thermostat can help maintain a safe temperature.
Step 6: Maintain a Healthy Winter Environment
Even in winter, your greenhouse needs some attention. Ventilate on mild days to reduce humidity and prevent mold or mildew. Keep an eye out for condensation on the panels and wipe it away if needed.
If you’re overwintering plants, water sparingly—just enough to keep the soil slightly moist. Overwatering combined with cold temperatures can lead to root rot.
Step 7: Plan Ahead for Spring
Once your greenhouse is clean, repaired, and insulated, take a moment to plan for the next growing season. Think about crop rotation, seed starting schedules, and what new varieties you’d like to try. You can even sow cold-hardy greens like spinach, kale, or lettuce if your greenhouse stays above freezing.
Preparing your greenhouse for winter isn’t just about maintenance—it’s an investment in next year’s success. A clean, well-organized, and protected greenhouse will make it easier and more enjoyable to get growing again when spring returns.
Læs også: